7. 100 ml cream (piskefløde) or full-cream fresh milk (optional)
8. 1/2 lemon juiced
9. Salt & pepper to taste
10. 100g cooked minced pork or minced chicken
11. A handful of spring onions, chives or parsley chopped for garnish (optional)
Instructions:
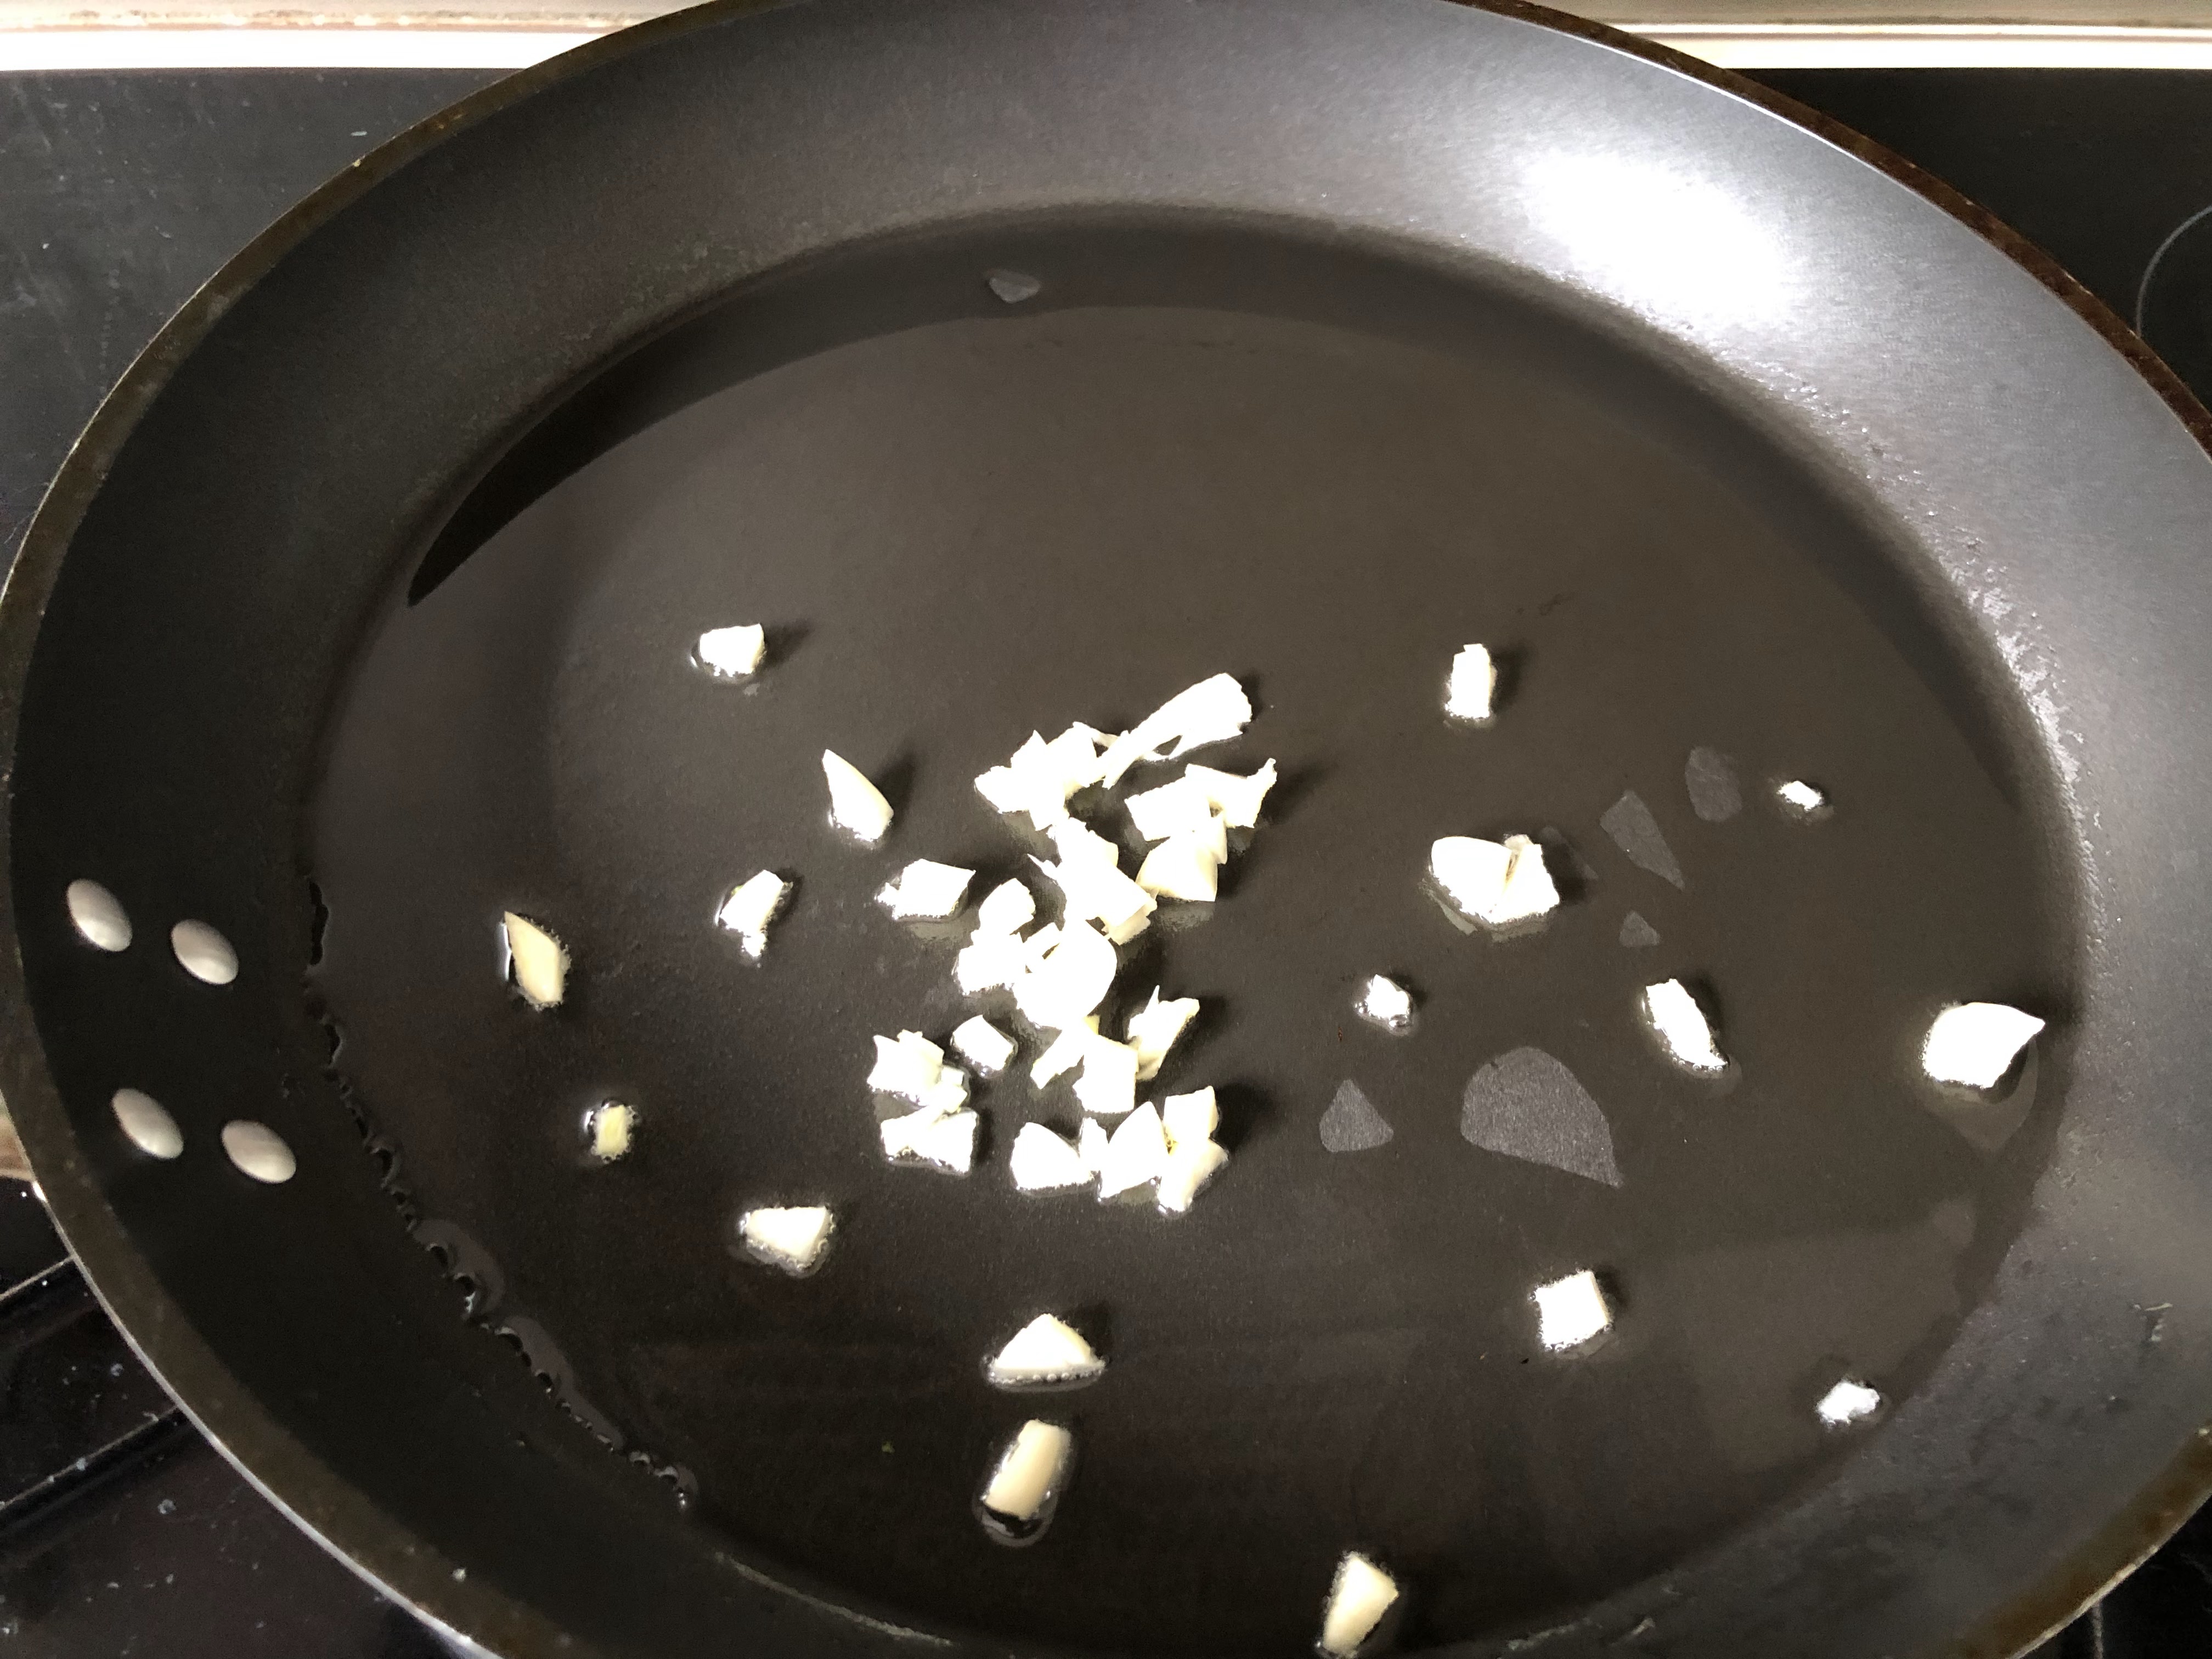
1. Heat pot with oil, fry garlic, leeks and potatoes until fragrant until medium-high heat (not. 7 out of 9 on my stove) for 5 minutes.
2. Add stock or water and cook for 10-15 minutes until the potatoes are soft.
3. Add cooked minced pork or chicken and blend with a hand-blender.
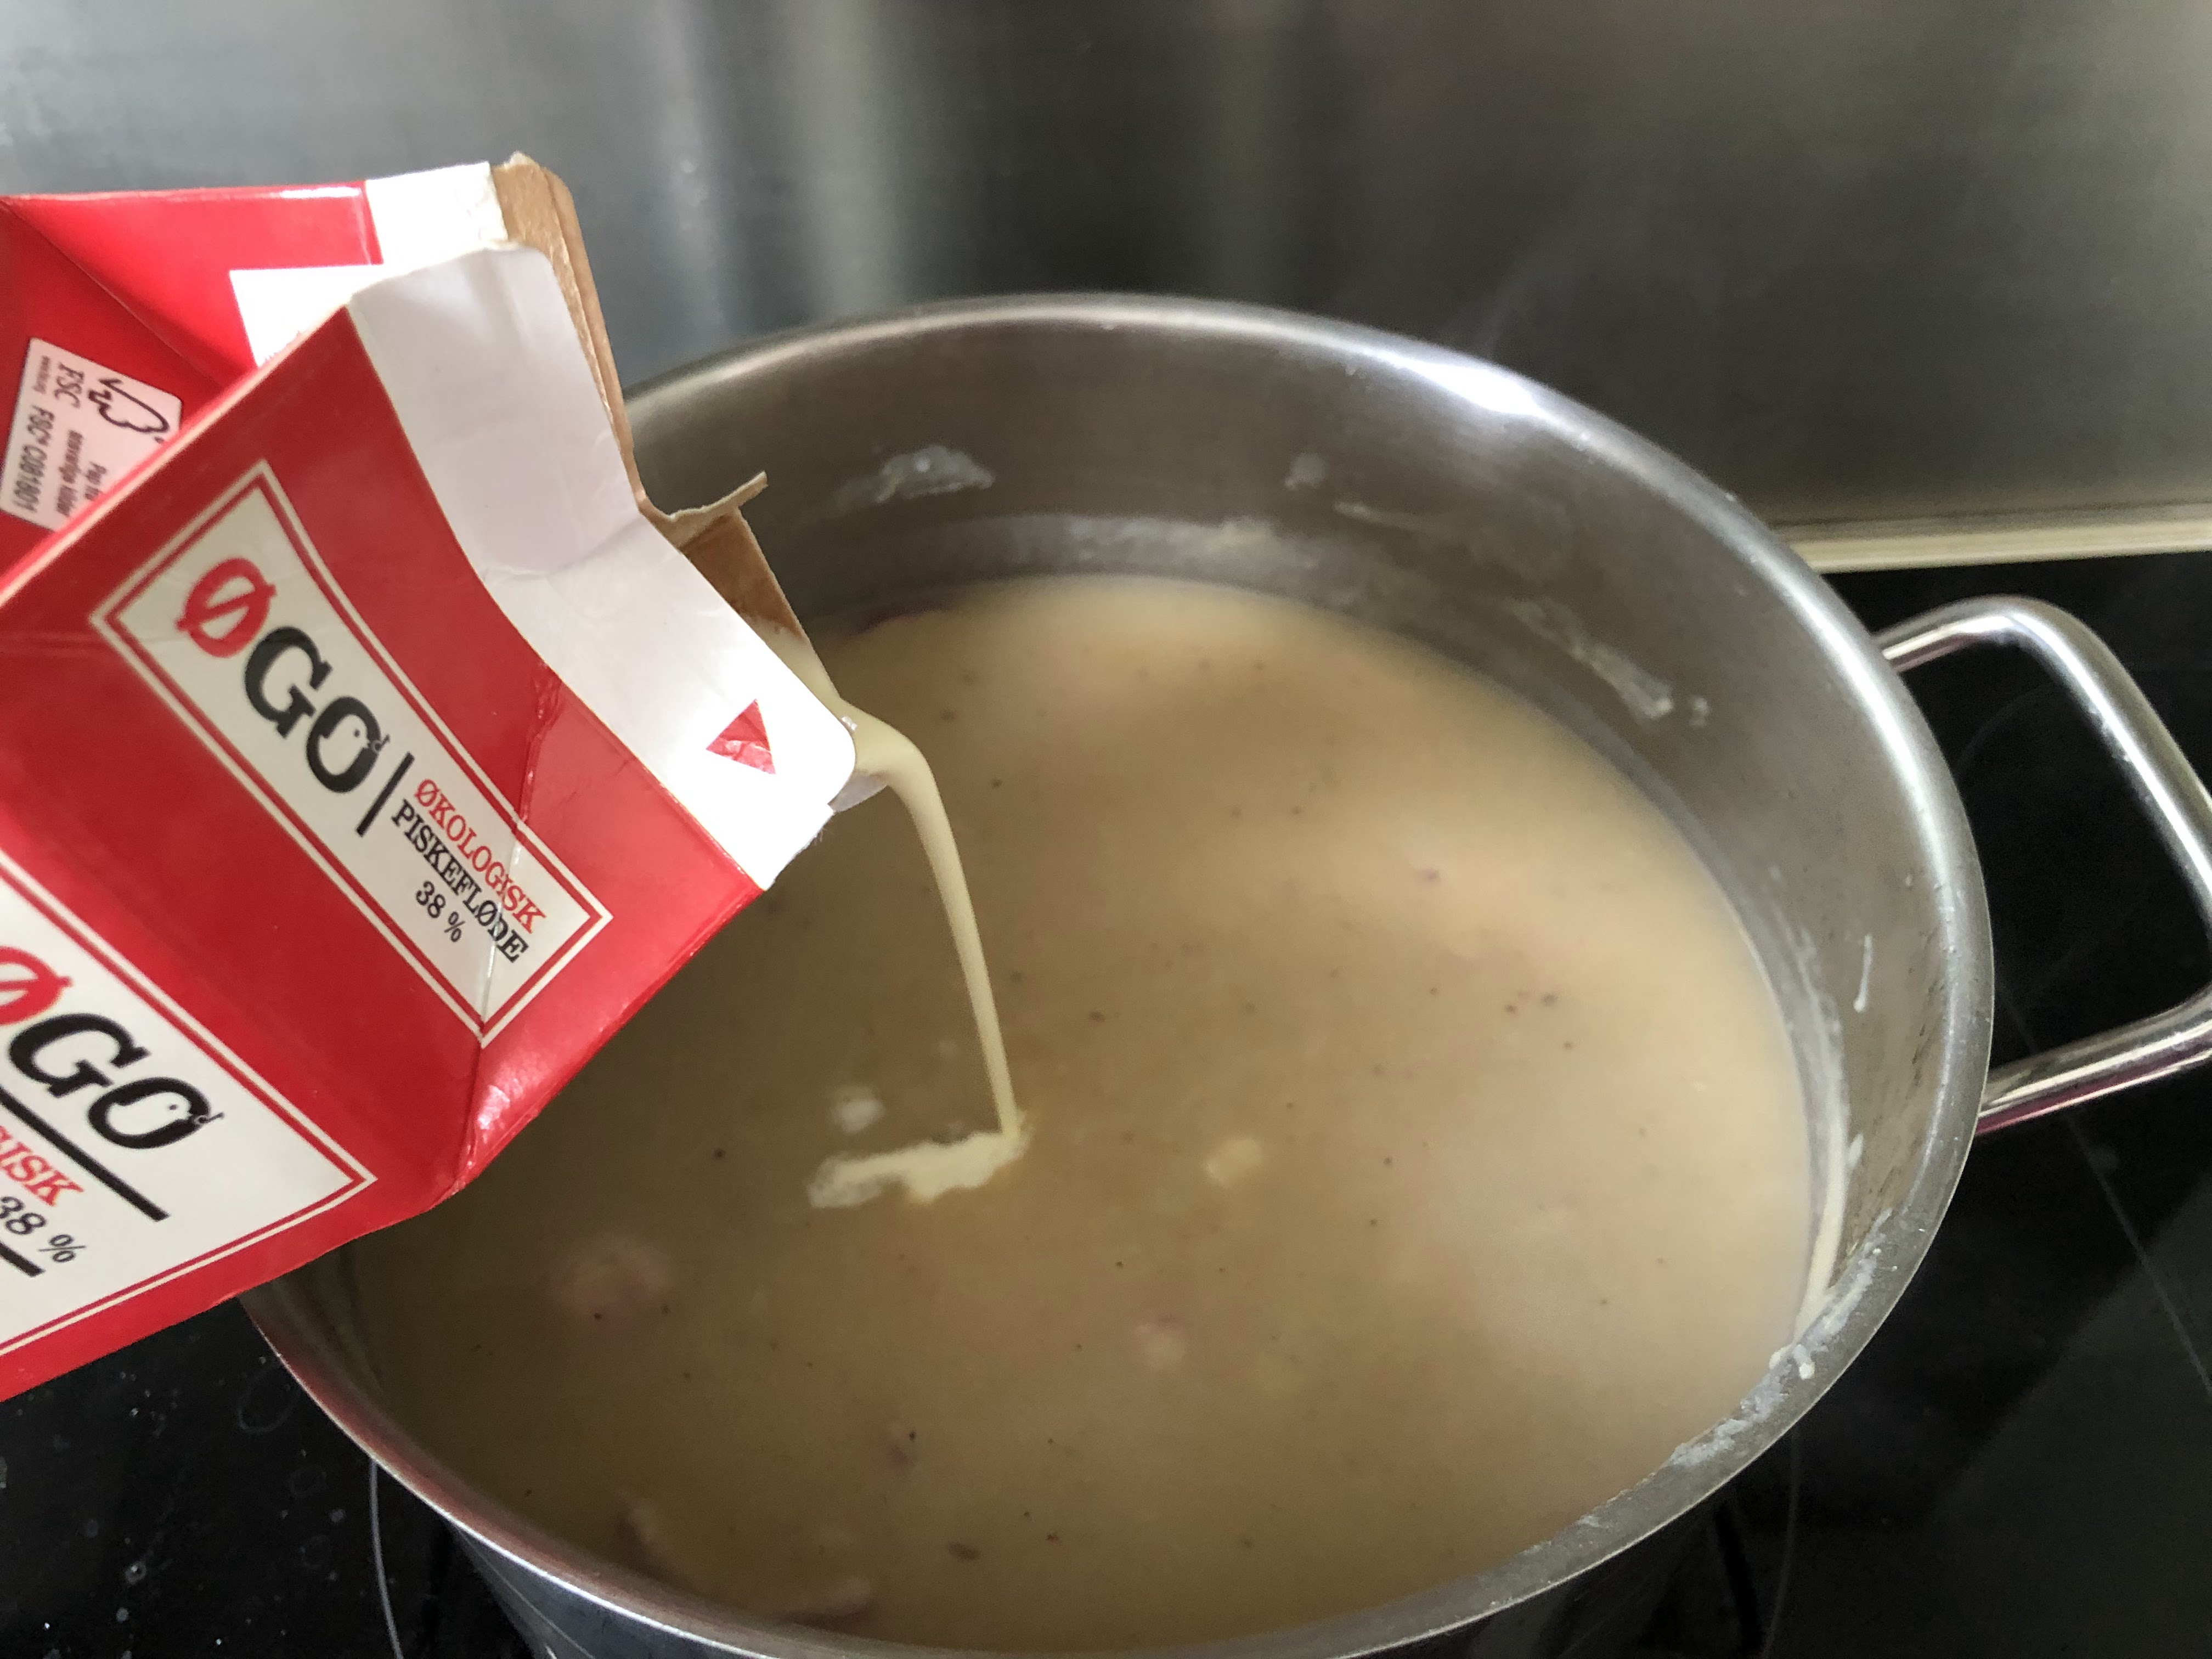
4. Add lemon juice, salt, pepper and cream and let it cook for a few minutes while you prepare the toppings.
5. Strain the soup with a sift.
6. Garnish with chopped chives or parsley or spring onions and serve.
Additional Information:
Turning this soup into a Power Protein Potato Leek Soup :-)
How to make the Danish Kartoffel porre suppe (potato leek soup) more nutritious?
C loves this soup. But it’s mainly carbohydrates 😅
I am tearing my hair out feeding this girl🤦🏻♀️
Then an idea came to mind, I can improve the Danish soup by adding some protein.
Add some cooked minced pork or minced chicken into the soup, then blend it and strain it with a sift. And viola, you got yourself a delicious soup jammed packed with umami and protein :-)
And you can’t even taste the meat, just pure umami in a “potato”soup.
Shh 🤫… please don’t tell the Danes that I have improved the nutrition value of their traditional soup.
I thank God for giving me a difficult and fussy kid. She is a gift from God to help me scale greater heights as I find creative way to feed this soon entering to adolescence-aged child.
God has His purpose when He gives us difficulties and hardship. He is there to cheer us on, helping us to excel and giving us wholesome ideas that, for example, ahem, improve the 1000 years’ culinary civilization of the Danish kingdom of Denmark😜
1. 6 pieces of salmon (from the pack of 2 of 225g each in Danish supermarket)
2. 4 large carrots diced
3. 200g Mozzarella cheese grated as topping
4. 1 bottle of Dolm'o of Lasagne Tomato
5. 1 bottle of Dolm'o of Lsagne Creamy
6. 9 lasagne plates
7. Salt & pepper to taste
8. 2 TBS cooking oil
9. A sprinkling of chives chopped as garnish
Directions:
1. Pre-heat oven to 200 degree celsius.
2. Heat 2 tablespoons of cooking oil in a pan, add salmon pieces with skin down until skin is golden.
3. Remove salmon from fire and remove the skin.
4. Add carrots into the pan and fry for 1 minute.
5. Add back the salmon and the two bottles of lasagne sauces and fry for 2-3 minutes.
6. In an oven-proof dish, add a layer of the salmon sauce from the pan.
7. Add a layer of lasagne plates.
8. Cover with a layer of salmon sauce.
9. Repeat steps 7 and 8 until all 9 plates and salmon sauce are used up.
10. Bake in the oven for 15 minutes.
11. Remove from oven and sprinkle a layer of mozzarella cheese on top.
12. Bake for another 5 minutes or until the cheese has melted, but haven't turned bworn.
13. Remove from oven, sprinkle chives on top (optional) and serve :-)
Additional Information:
A friend of mine made this dish during one of our visits to their place. It tasted very good. The salmon was cooked but tender. She gave me the recipe and I tried it today. Salmon is a very healthy super food. Our family tries to eat fish twice a week, although we don't always succeed.
Ingredients available from Føtex supermarket.
Pre-heat oven to 200 degree celsius. Then dice 4 large carrots by hand or food processor.
Heat pan with cooking oil, fry salmon with skin down until skin is golden and remove salmon.
Add carrots and fry for a minute.
Add back salmon, tomato lasagna sauce and
Add creamy lasagna sauce.
Cook and mix well for 2-3 minutes.
Transfer salmon sauce to an oven-proof dish in a layer.
Add a layer of lasagna plates
Cover with a layer of the salmon sauce.
Add another layer of the salmon sauce.
and repeat until all lasagna plates and salmon sauce have been used up.
Bake for 15 minutes in the oven at 200 degree celsius.
Remove from oven and
Add a layer of mozzarella cheese
Bake for 5 minutes until the cheese have melted but haven't turned golden
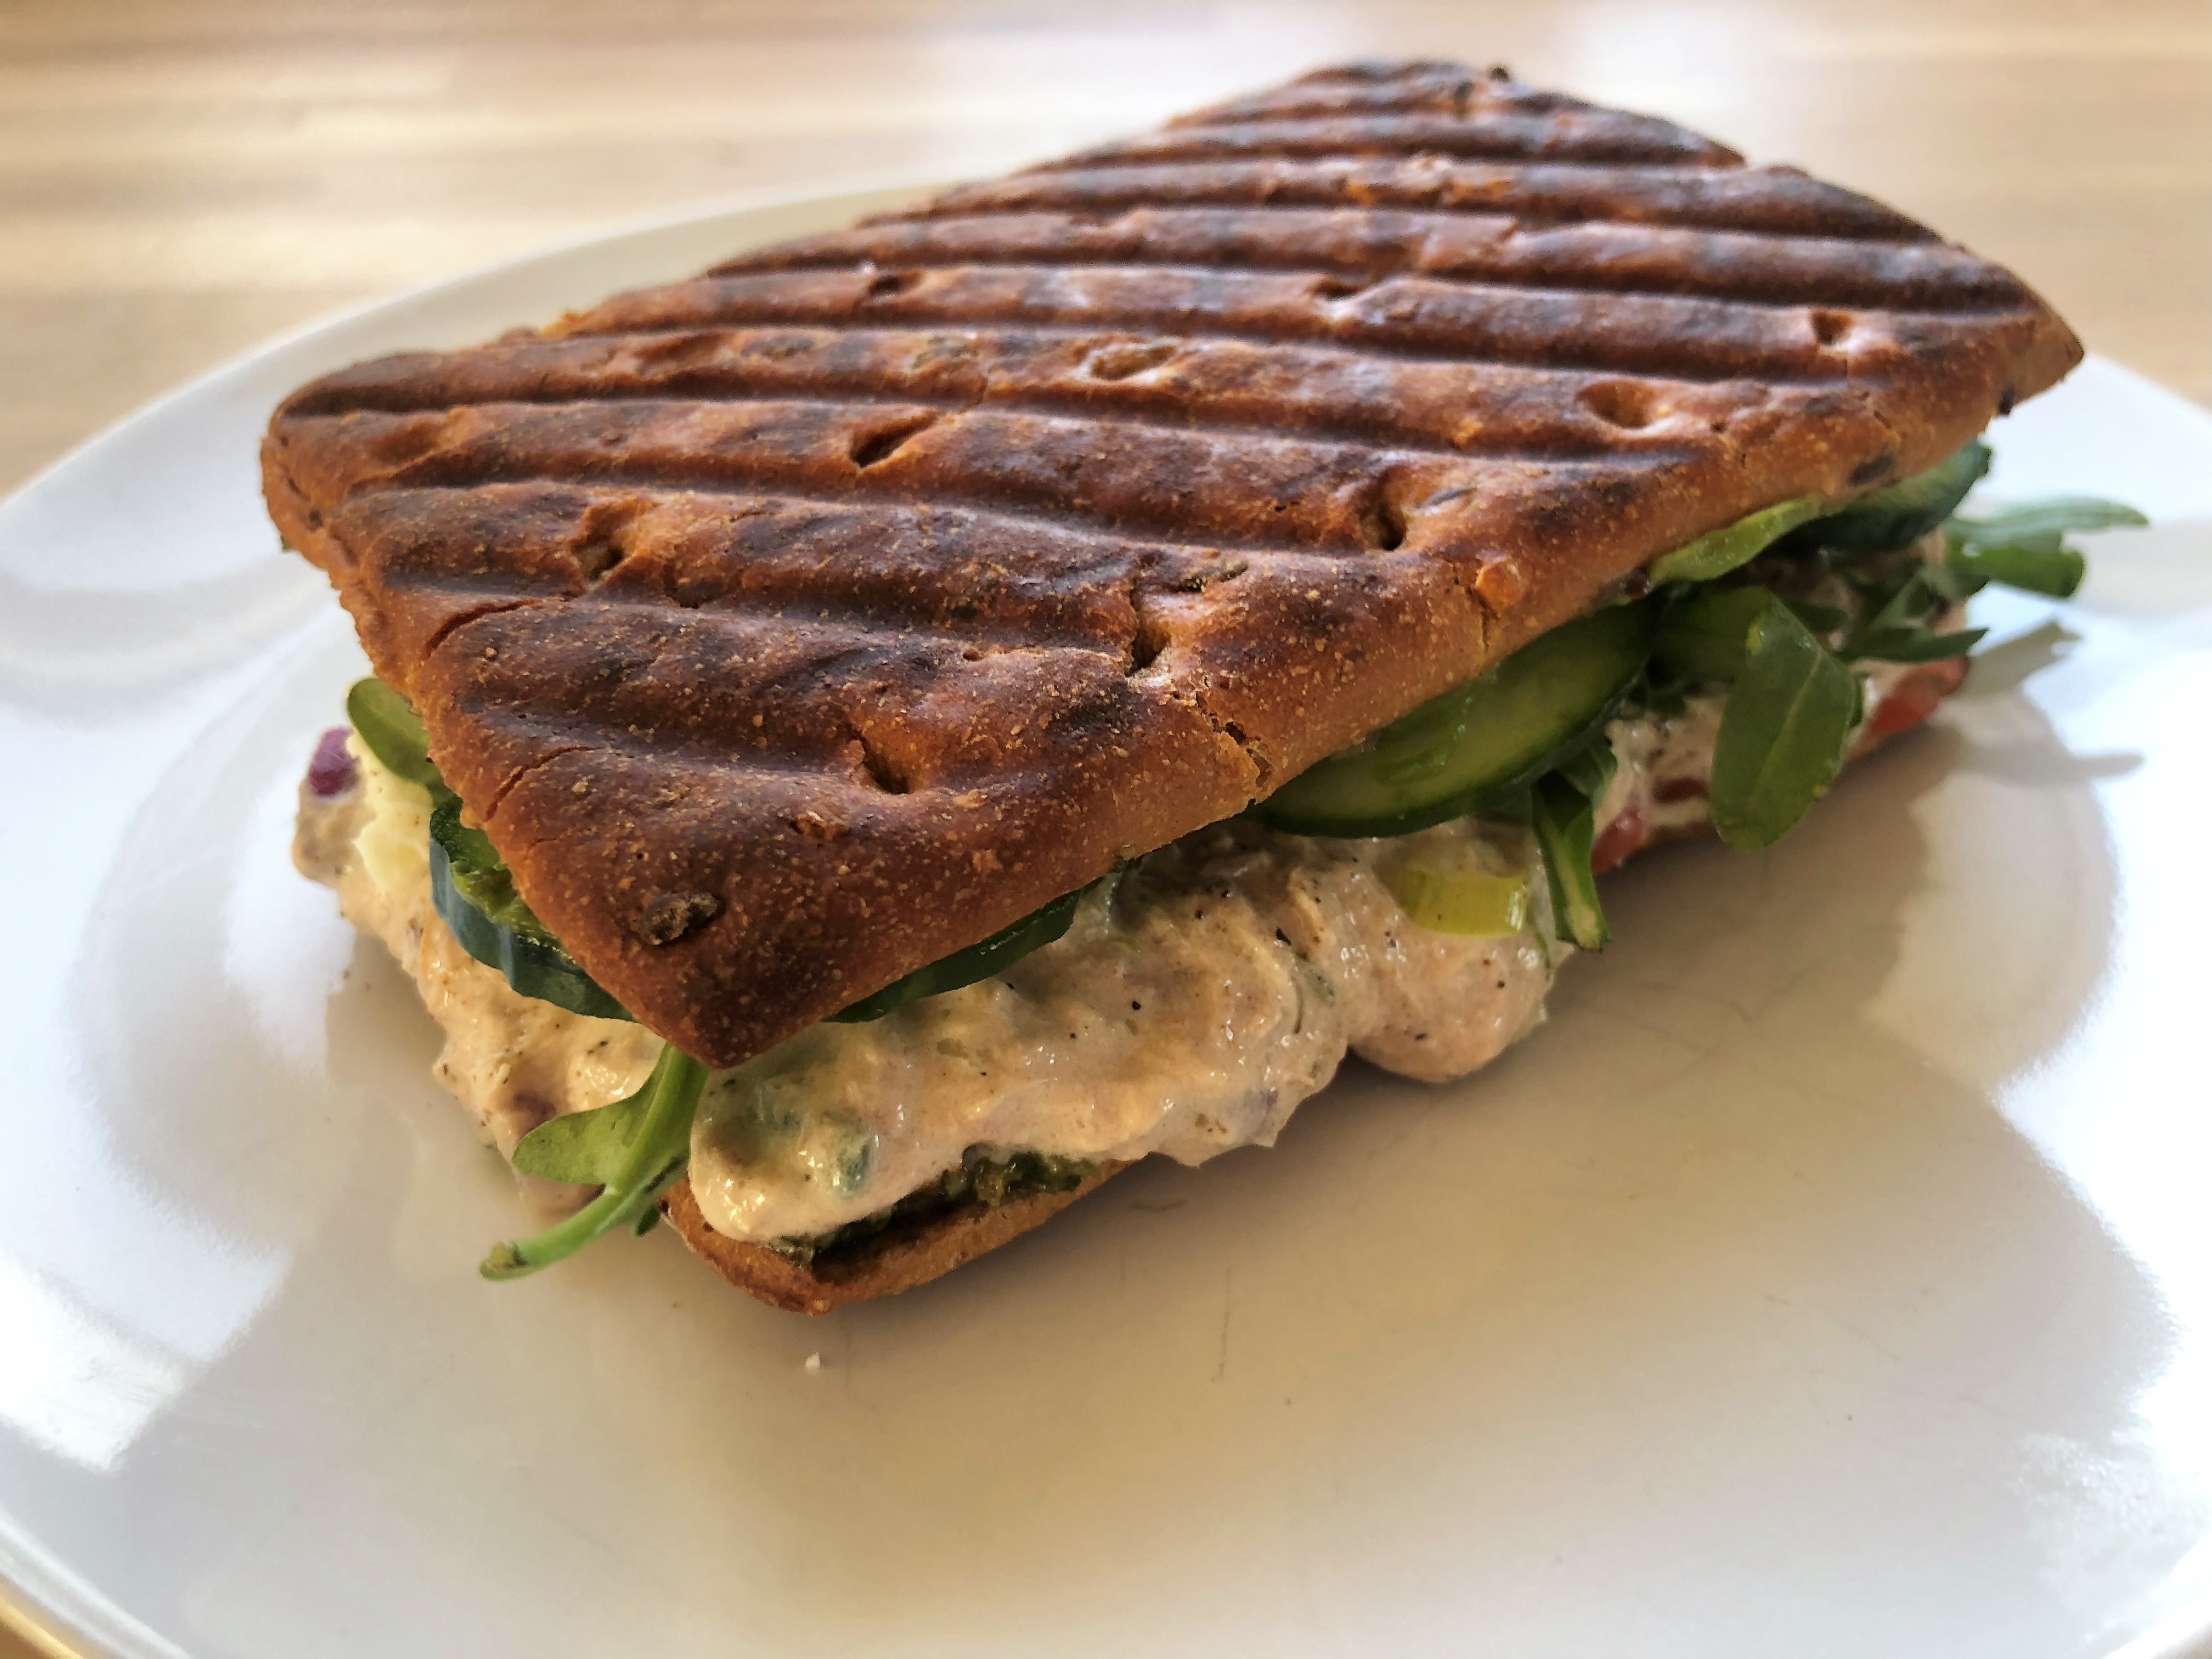
The secret to making a close copy of JOE & THE JUICE sandwich lies in the homemade pesto (see recipe below), grilling the bread into an ultra thin "flat bread" BEFORE putting the sandwich together - trust me, you will need a panini maker; and slicing the avocado real thin as if you are spreading "butter" on the bread.
Ingredients:
1. 4 slices of avocado
2. 6 slices of tomatoes
3. 2 heap TBS of tuna salad
4. a handful of rucola leaves (optional)
5. 2 slices of whole-wheat bread (Javisst fuldkornsklemmer)
1. Blend all the ingredients until smooth in a food processor or blender. Adjust with more or less olive oil as desired.
Directions for tuna salad:
1. In a bowl, add all the ingredients and mix well.
Directions for sandwich:
1. Press and toast 2 slices of bread using a panini machine into flat bread.
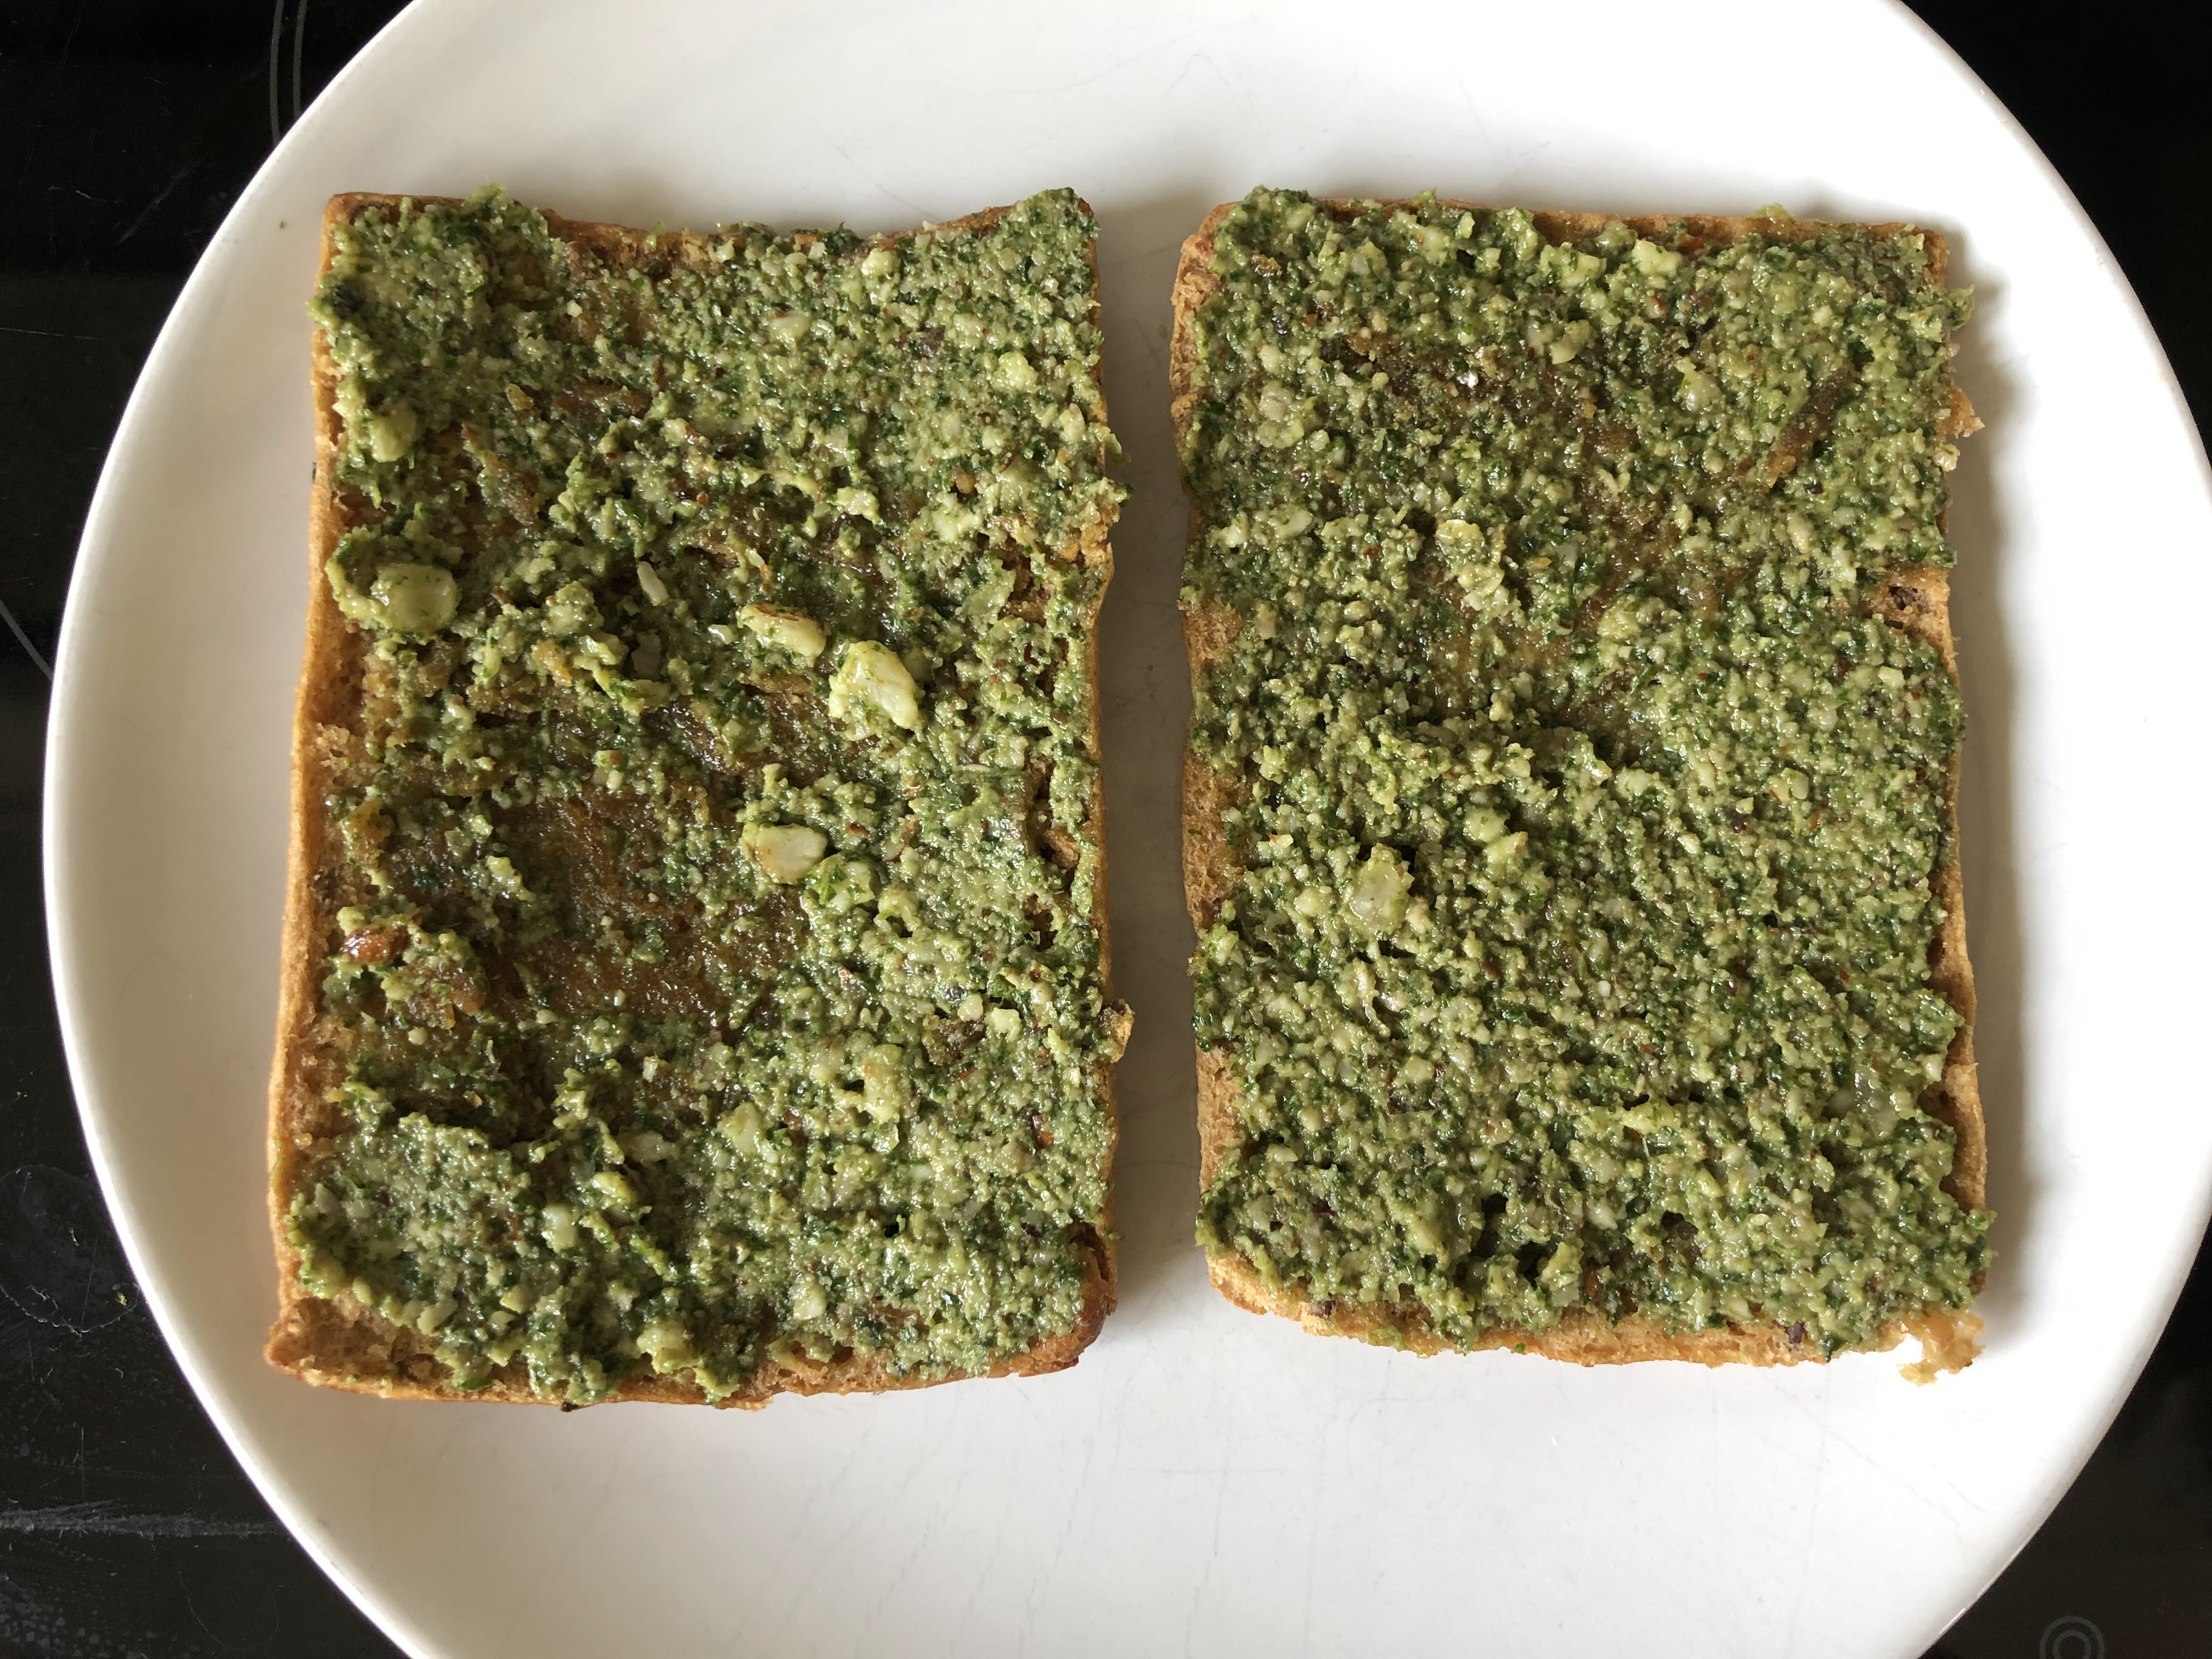
2. Spread pesto on each side of each slice of bread.
3. Add 4 thin slices of avocado on one side of the bread.
4. On the other side of the bread, add tomatoes, tuna salad and rucola leaves.
5. Put the sandwich together and it's all done :-)
Additional Information:
The Danes have a winning way of making healthy - wholewheat, no butter, delicious and nutritious sandwiches - way ahead of the rest of the world based on my bias opinion (we live in Denmark). It's popular all around the world, and boy are they expensive in Singapore!!!
Daddy FECS and Our Little FECS’ absolutely love JOE & THE JUICE sandwiches. So they have been requesting me to research the recipe (see links below), but alas, I didn't find any that come close to the taste after trying the recipes from the internet. Thus, I decided to experiment on my own.
The secret to JOE & THE JUICE sandwich lies in the homemade pesto (it wouldn’t work with store-bought pesto), real thin avocado slices and the grilled flat bread. This is achieved by grilling the bread on the panini maker before putting the other ingredients into sandwich (I have observed how the guys at Joe & The Juice make the sandwiches :-). We bought our panini maker from Netto for 169 DKK. It is value-for-money and works very well. There is no need to buy those expensive models. There is even a cheaper one from Føtex costing only 129 DKK, but we have no experience with it though.
At our yearly spring picnic with friends, we found out from Daddy FECS' childhood friend who is a board member of the JOE & THE JUICE that the secret to the sandwiches is the freshly made pesto every morning and the special whole-wheat bread delivered by Kohberg. They don't use butter at all!!! And they only use their own bread which is exported to the JOE & THE JUICE outlets all over the world. No wonder their sandwiches in Singapore are so much more expensive - imported all the way from Denmark!!! And no, I didn't manage to get the recipe for the bread from our friend :-(
If you notice, JOE & THE JUICE's pesto tastes kinda sweet. Thus, I add a dried date into my pesto to achieve that sweetness. And JOE & THE JUICE uses vegan pesto - no parmesan cheese, but we like parmesan cheese, so we add it into our pesto, although you can leave it out of course.
We like to add slices of cucumber and rucola salad leaves into our sandwiches too, although JOE & THE JUICE does not do that.
The only thing I could not replicate myself is their secret recipe for the bread :-(, but the store-bought wholewheat bread shown below comes close.
I use creme fraiche for the tuna instead of mayonnaise, as it is healthier. It actually tasted very good without the mayonnaise.
Storage:
You can store the homemade pesto in an air-tight jar and refrigerate it. it keeps for 5 days. You can also freeze them in portion using ice-cube tray and just thaw a portion, when you need it.
All the ingredients you need for the pesto and sandwich are here. Apology, I missed out 1/2 a lemon. If you are making tunacado, you don't need the cheese and ham shown in the picture above.
Use a panini maker. This is the one we bought from Netto for 169 DKK. It's a basic no frill model. There isn't an on/off switch, but it is doing a good job of grilling the sandwich :-)
For the bread, I use wholewheat Javisst Fuldkornsklemmer, which you can also get from Netto or Føtex. It comes close to JOE & THE JUICE's :-)
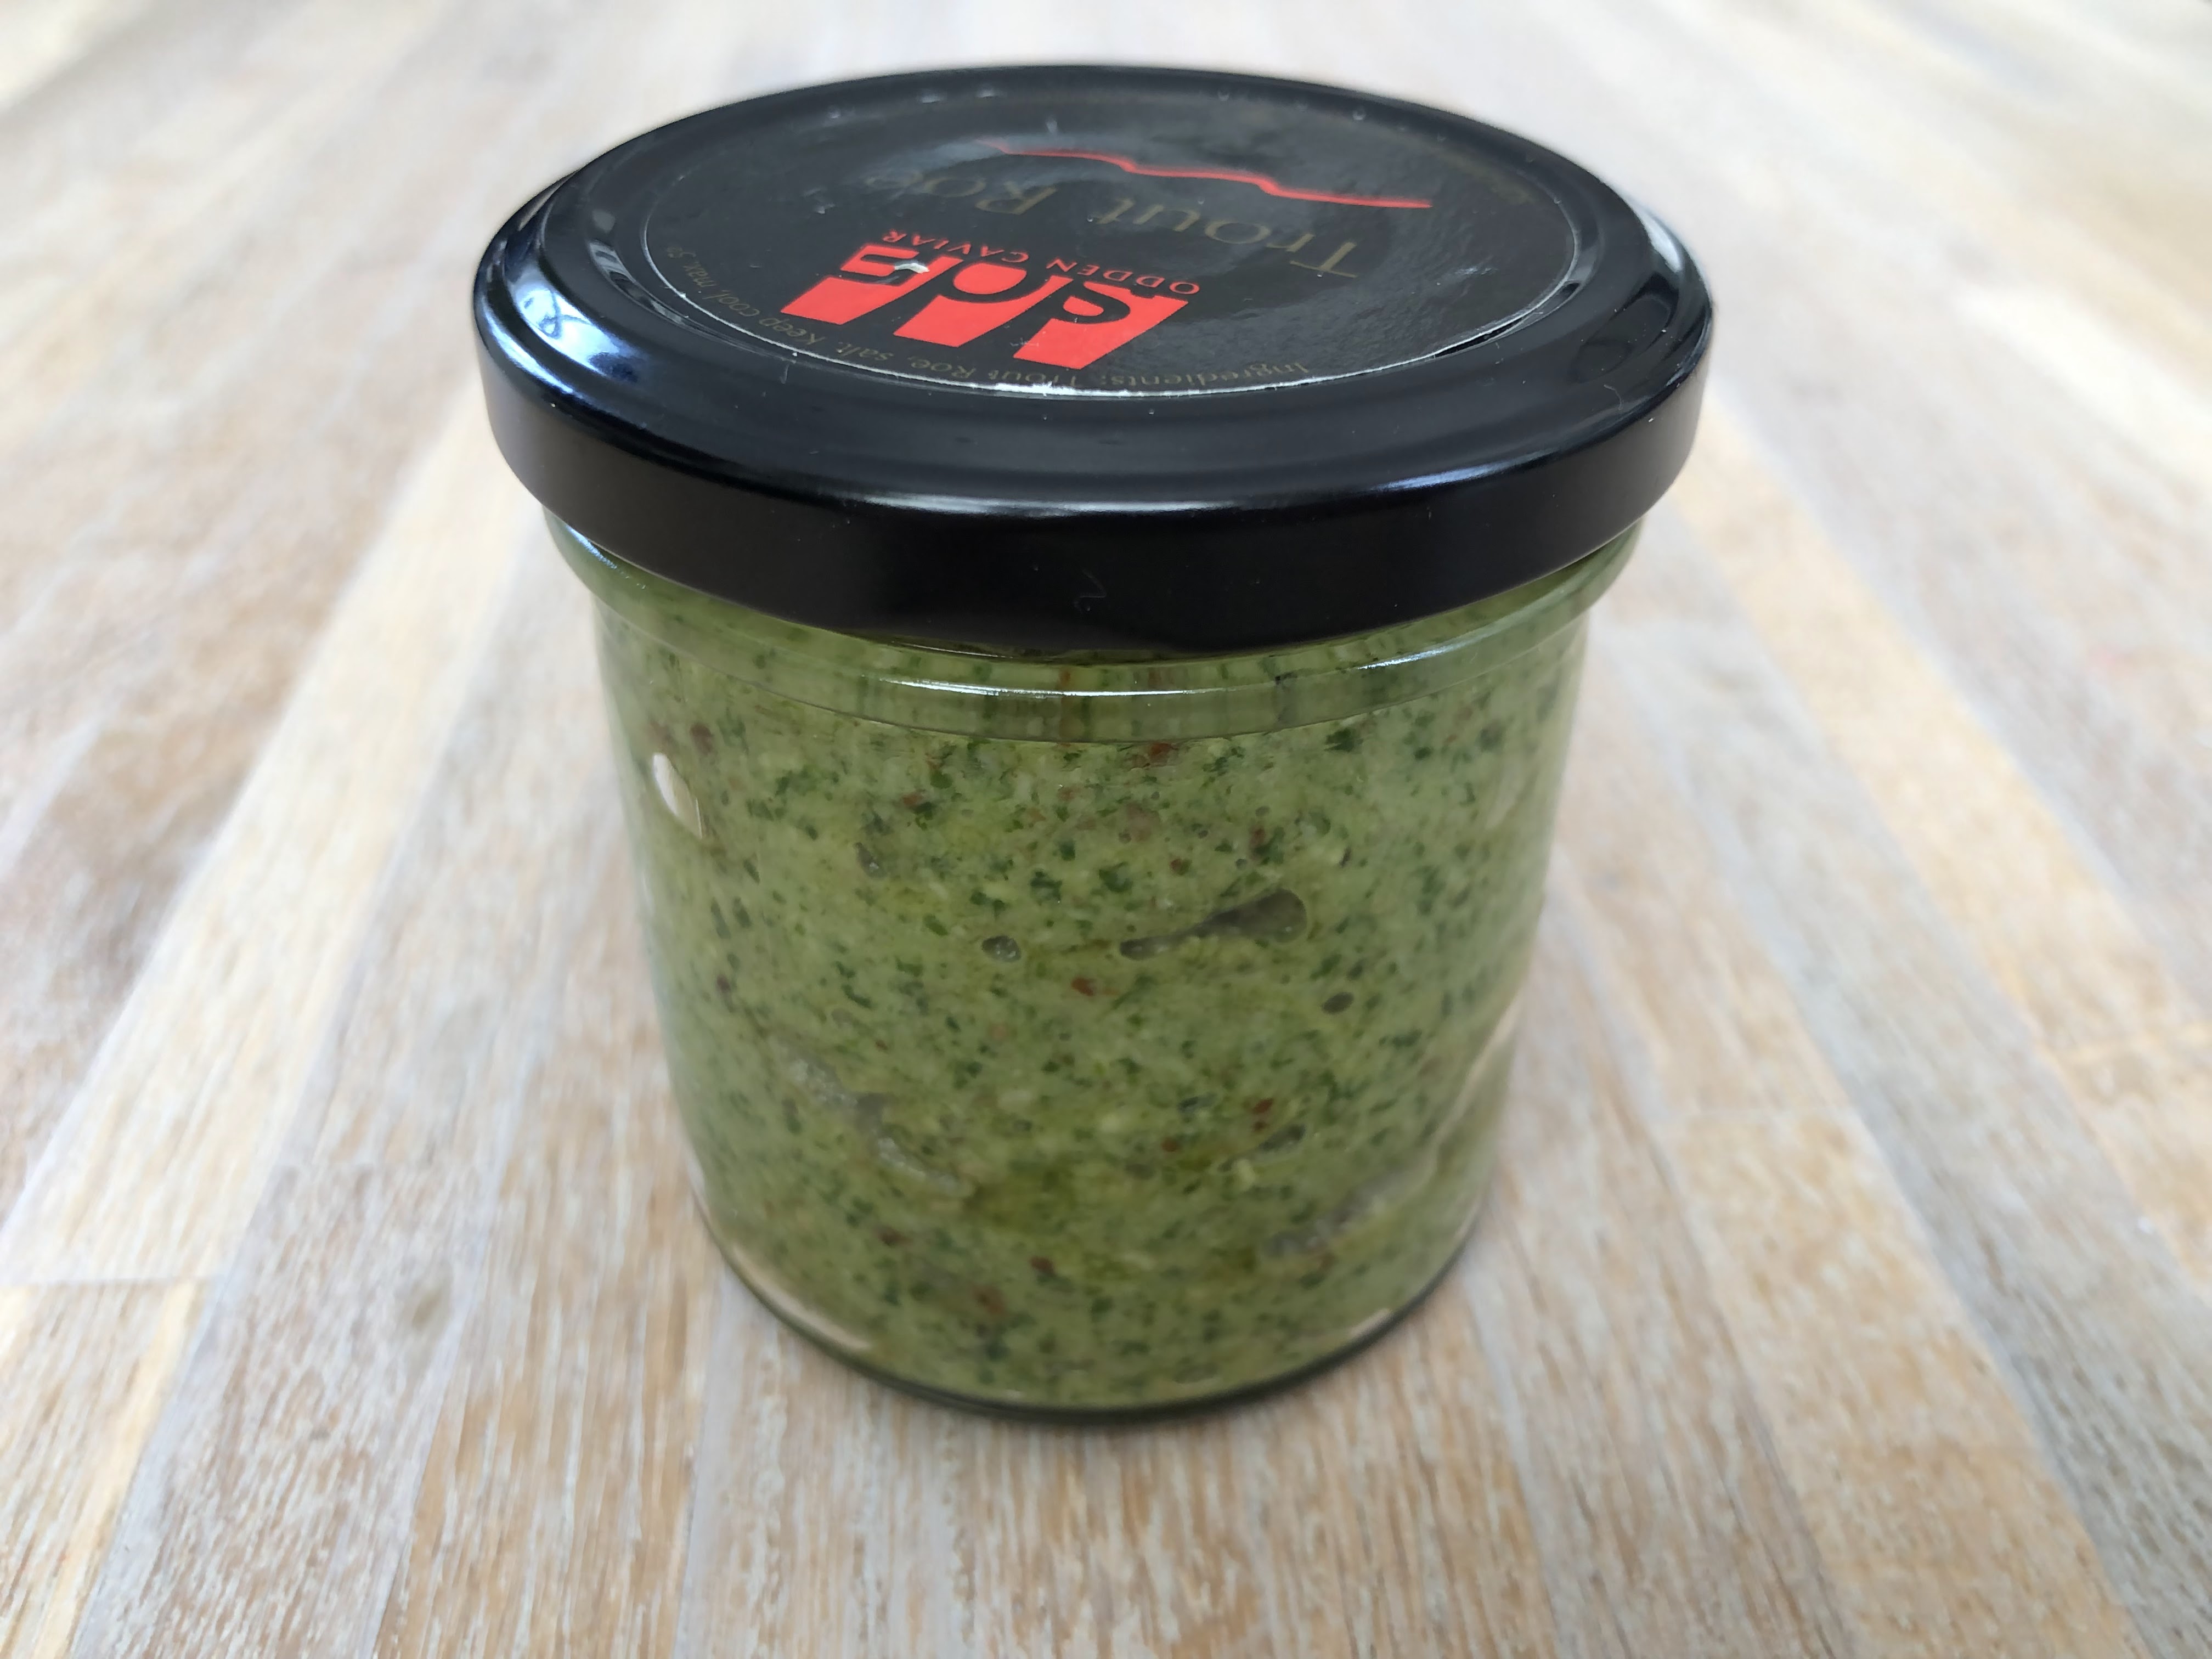
To make a batch of pesto, add all the ingredients (Basically a handful of basil, a handful of pine nuts or desired nuts - here I use what I have at home, which are almonds, walnuts and sunflower seeds; 100ml of olive oil, a dried date pitted, parmesan cheese 30-40g, half lemon squeezed, salt and pepper to taste) into a food processor or blender. here I am using the KitchenAid mini food processor. By the way, I think JOE & THE JUICE uses pine nuts. Full recipe here:
Blend until smooth in a food processor or blender.
Pesto done :-)
To store, transfer into air-tight jar and refrigerate. Can keep for 5 days.
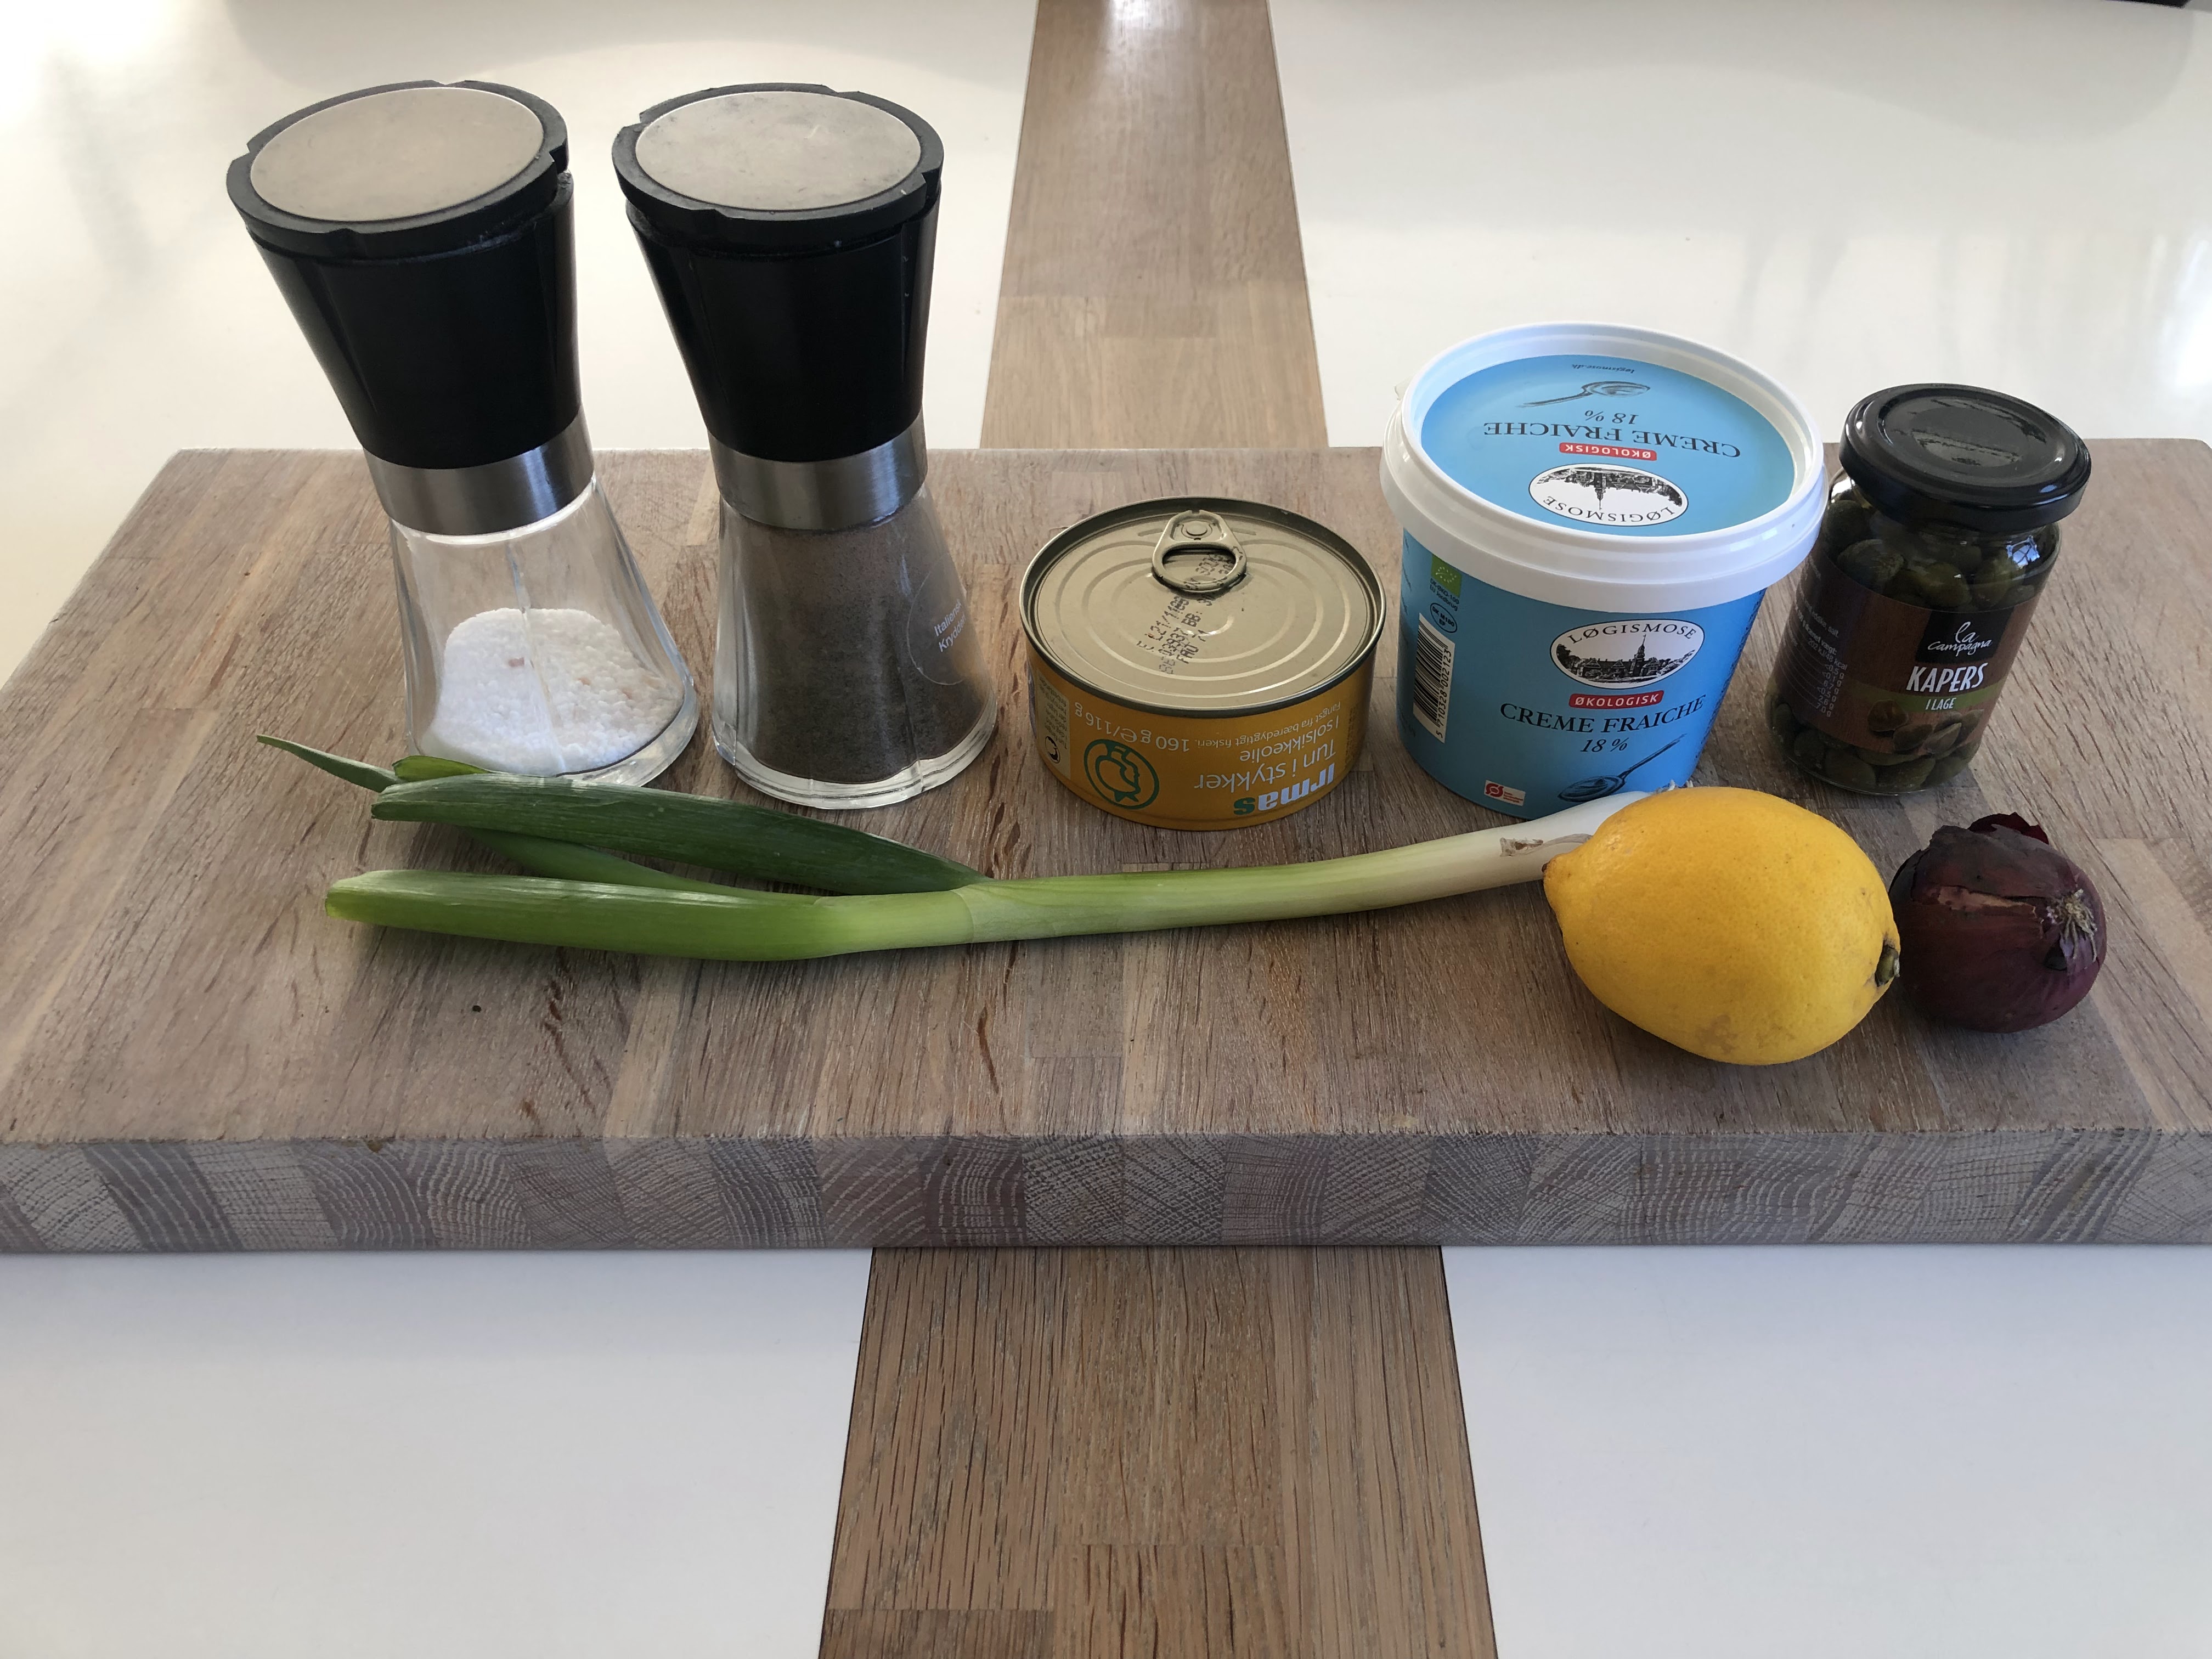
Here are the ingredients for the tuna salad: salt, pepper, tuna in oil, creme fraiche, capers, spring onion, lemon and onion.
In a bowl, add tuna, spring onions, onion and capers.
Add salt and pepper
Add 1/2 lemon juice
Add 4 tablespoons of creme fraiche
Mix well and it is done :-)
Start by grilling the sandwich bread. Place it diagonally on the panini maker
Press the bread completely down and lock it for a minute or two
Now the first pattern is done :-)
Then turn the bread diagonally the other side to get the criss cross pattern
Press the bread completely down once again.
Now you get the criss cross pattern just like JOE & THE JUICE :-)
Look how lovely flat the bread has become, just like JOE & THE JUICE's :-)
Slice it into half with a knife horizontally as shown above while it is still warm, otherwise it will be impossible to slice it after it is cooled down (that's more or less how JOE & THE JUICE's staff do it as well)
Spread on homemade pesto...
...on both sides of the bread.
Using a butter knife, slice avocado into thin slices and spread them on one side of the bread.
On the other side of the bread, add slices of tomato.
Add 2 scoop of tuna salad and
Spread well. At this stage, the tunacado sandwich is completed :-)
But we like to add cucumber slices. JOE & THE JUICE does not add cucumber, but we like them in our sandwiches.
Add rucola salad leaves (optional), again JOE & THE JUICE does not add cucumber, but we like them in our sandwiches.
Put the sandwich together and it is done :-)
You can pair it with a homemade green smoothie :-)